3D Printing for Furniture Repair: Small Parts, Big Saves

Chosen theme: 3D Printing for Furniture Repair. Welcome to a hands-on, creative space where broken chairs, wobbly drawers, and missing knobs get a second life. We’ll blend practical techniques with real stories so you can repair beautifully, reduce waste, and feel proud of every fix. Join the conversation, subscribe for weekly repair ideas, and tell us which piece of furniture you want to rescue next.

Printers and nozzles that handle tough jobs

Most modern FDM printers can produce durable furniture parts. A 0.4 mm nozzle works well, but a 0.6 mm nozzle speeds tough parts with thicker walls. Keep your bed leveled, use good adhesion, and consider hardened nozzles if you plan to print abrasive filaments.

Filaments that survive real furniture stress

PETG balances strength and flexibility, making it a great choice for clips and handles. ABS tolerates a bit more heat but needs enclosure care. Nylon shines for high-wear parts, while PLA is fine for low-stress, indoor components. Wood-filled filaments can help match aesthetics.

Essential measuring and prep tools

A digital caliper is your best friend for accurate internal and external dimensions. Add a thread gauge, small square, and contour gauge for tricky profiles. Photograph the original part, note its orientation, and sketch critical measurements before modeling.

Modeling Replacement Parts That Actually Fit

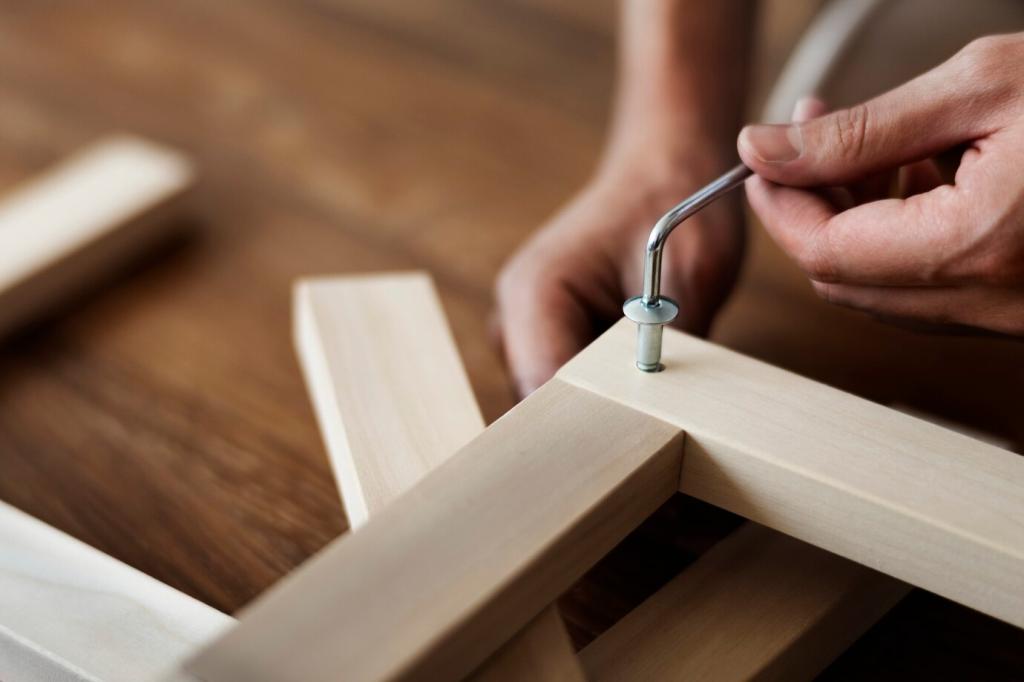
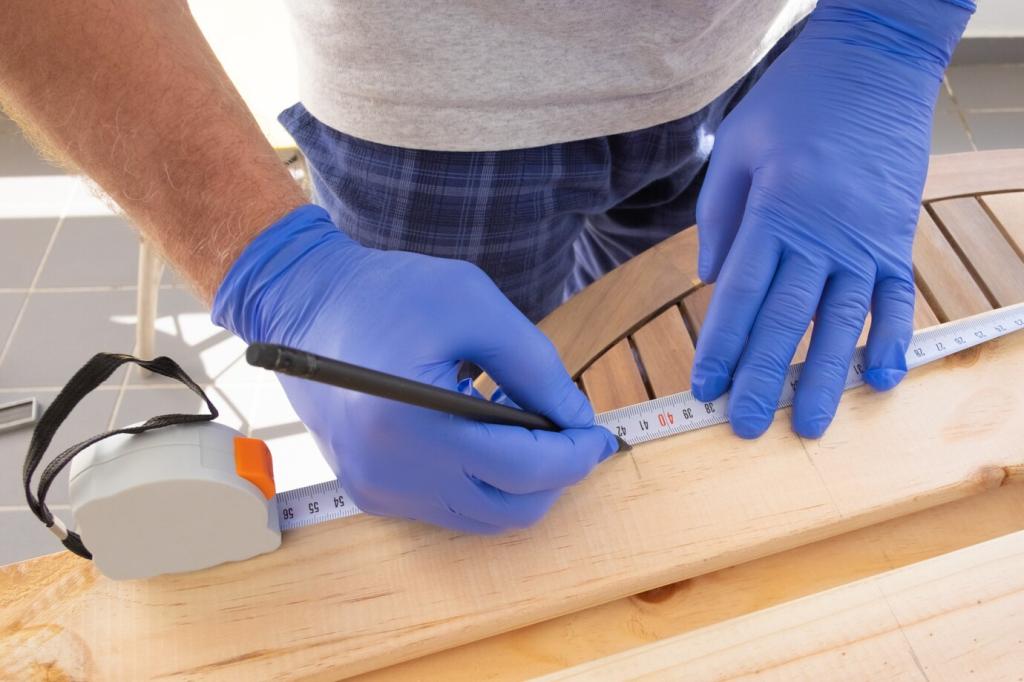
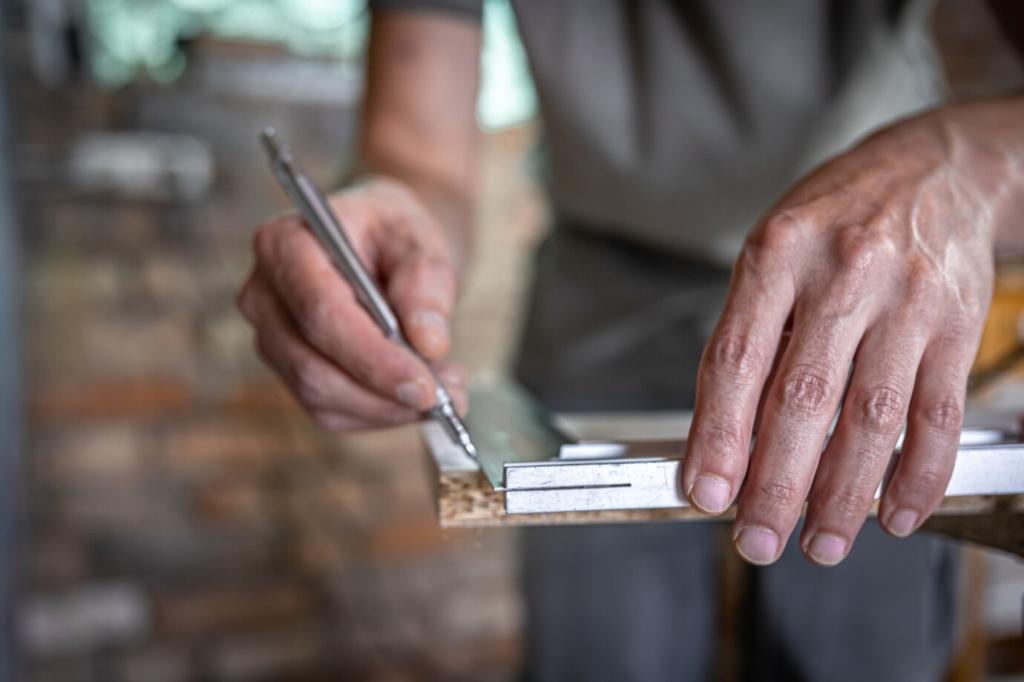
Measure three times in different spots to account for wear and casting irregularities. Leave clearance for press fits and sliding joints, and account for shrink or elephant’s foot. Record everything so you can adjust 0.1–0.3 mm without starting from scratch.

Modeling Replacement Parts That Actually Fit

Use parametric tools like Fusion 360, FreeCAD, or OpenSCAD to tie dimensions to named parameters. Change one value—like hole spacing or wall thickness—and the entire model updates. Share your parameter sets with readers to help them remix your solutions.

Real-world Fixes You Can Print Today

A reader printed a custom glide for a mid-century chair with a nonstandard leg diameter. PETG with three walls and 30% infill stopped the wobble, protected hardwood floors, and matched the chair’s profile perfectly. Share your glide dimensions to build a community library.
When a vintage dresser lost its pull, we modeled a replacement around the existing screw spacing and added a subtle chamfer that echoed the original style. Spray-primed and hand-rubbed, it blended so well that guests couldn’t spot the difference.
Soft-close hinges often need precise offsets. A custom printed spacer fixed a millimeter misalignment that made a cabinet door rub. With a parametric model, thickness updates took seconds, and the door closed like new. Ask for the spacer file in the comments.

Make Prints Strong, Safe, and Beautiful

Align layer lines to resist expected forces—clips print strongest when layers run perpendicular to the flex. Increase walls to 4–6 perimeters for thin parts, keep infill between 20–50% as needed, and add fillets to reduce stress concentrations on sharp corners.

Make Prints Strong, Safe, and Beautiful

Heat-set inserts and machine screws transform plastic into long-lasting components. Design small bosses, pause the print, and press inserts with a soldering iron. Consider epoxy bedding for high-load joints, and add ribs to thin sections for extra stiffness.

Know When Not to Print

Avoid printing structural legs or high-stress joints that support people or heavy items. Layer adhesion can fail unpredictably. When in doubt, use metal, hardwood, or a hybrid solution that combines printed spacers with traditional hardware for safety.

Know When Not to Print

Steer clear of PLA near radiators or sunny windows; it can warp. Some filaments may off-gas; seal with paint or select safer materials. Round corners, hide fasteners, and keep small printed parts out of reach of children to prevent choking hazards.

Share, Learn, and Grow Your Repair Skills

Photograph the broken part, note materials and settings, and upload both the STL and a parametric source. A short postmortem—what failed, what worked—helps others replicate success. Add your project link below so we can feature it in future posts.

Share, Learn, and Grow Your Repair Skills

Explore platforms like Printables, Thingiverse, and MakerWorld for furniture-specific components. Tag your uploads clearly—glide, pull, spacer, hinge—and include measurement diagrams. Comment with your favorite libraries so readers can discover new resources.
Muhammadshakirali
Privacy Overview

This website uses cookies so that we can provide you with the best user experience possible. Cookie information is stored in your browser and performs functions such as recognising you when you return to our website and helping our team to understand which sections of the website you find most interesting and useful.